Purpose
Create a wall using arrow keys, commands, or centerline input.
Prerequisites
If you are creating a wall and want to use settings other than the defaults, you must edit the Wall Settings. See Wall Settings for more information.
Steps
To create a wall:
- Open the main Layout window.
- Create a wall in one of the following ways:
- Press one of the arrow keys (do not use the arrow keys on the numeral keypad). If you use the arrow keys, a corresponding command displays in the Layout Commands box. For example, if you press the up arrow, the u command u appears in the box.
- Type a letter representing a direction
- u = up
- d = down
- l = left
- r = right
 Note that you can also use e, w, n, s (for east, west, north, south)
c. Use the Wall Commands dialog. See Outside/Inside Edge & Centerline Wall Input.
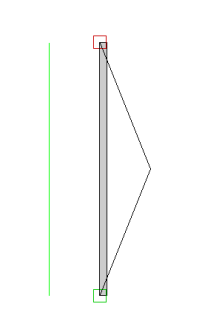
- Type a value representing the wall dimension you want to create. For example, to create a 10' vertical wall, press the up arrow and enter the value 10.
Information displays in the Layout Commands box.

- Press Enter.
The wall is displayed with the specified length and direction.
- Continue creating additional walls using the same process.
You can also use + and - operators to combine layout commands.
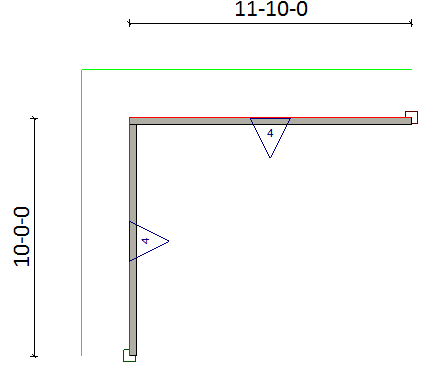
- Enter a combination of commands in the Layout Commands field and press Enter.
For example: 
The above command creates an 11-10-00 wall to the right.
Notes:
Use the U,D,L,R keys or the arrow keys to indicate direction of the wall
You must include a space before and after the plus + and minus - operators.
The input wall must be in a single segment, not divided into multiple segments (a segment for each input dimension).
Negative sums can be used. For example if r -4 is input, a 4' wall is created in the left direction.
Related Topics